 An official website of the United States government.




How to Cancel a Query Enrollment
When a practitioner leaves your organization, you must cancel their query enrollment. Promptly canceling the practitioner's enrollment will ensure that your organization does not receive any information it is not entitled to. Failure to cancel the enrollments of practitioners who have left your organization may result in NPDB penalties. Refunds are not issued for canceled enrollments.
Note: If a practitioner returns to your organization after their enrollment has been canceled, you may be able to resume the canceled enrollment. An enrollment may only be resumed within its original enrollment period. If the original enrollment period has expired, reenroll the practitioner from a canceled enrollment.
Method 1: Cancel Enrollments Individually
- Sign into the NPDB.
- On the Select an Option page, select Query.
Note: If you are canceling an enrollment as an authorized agent organization, you will select the entity on whose behalf you wish to cancel the enrollment.Select an Option

- On the Query Options page under Query Management, select Cancel Enrollments.
Query Options

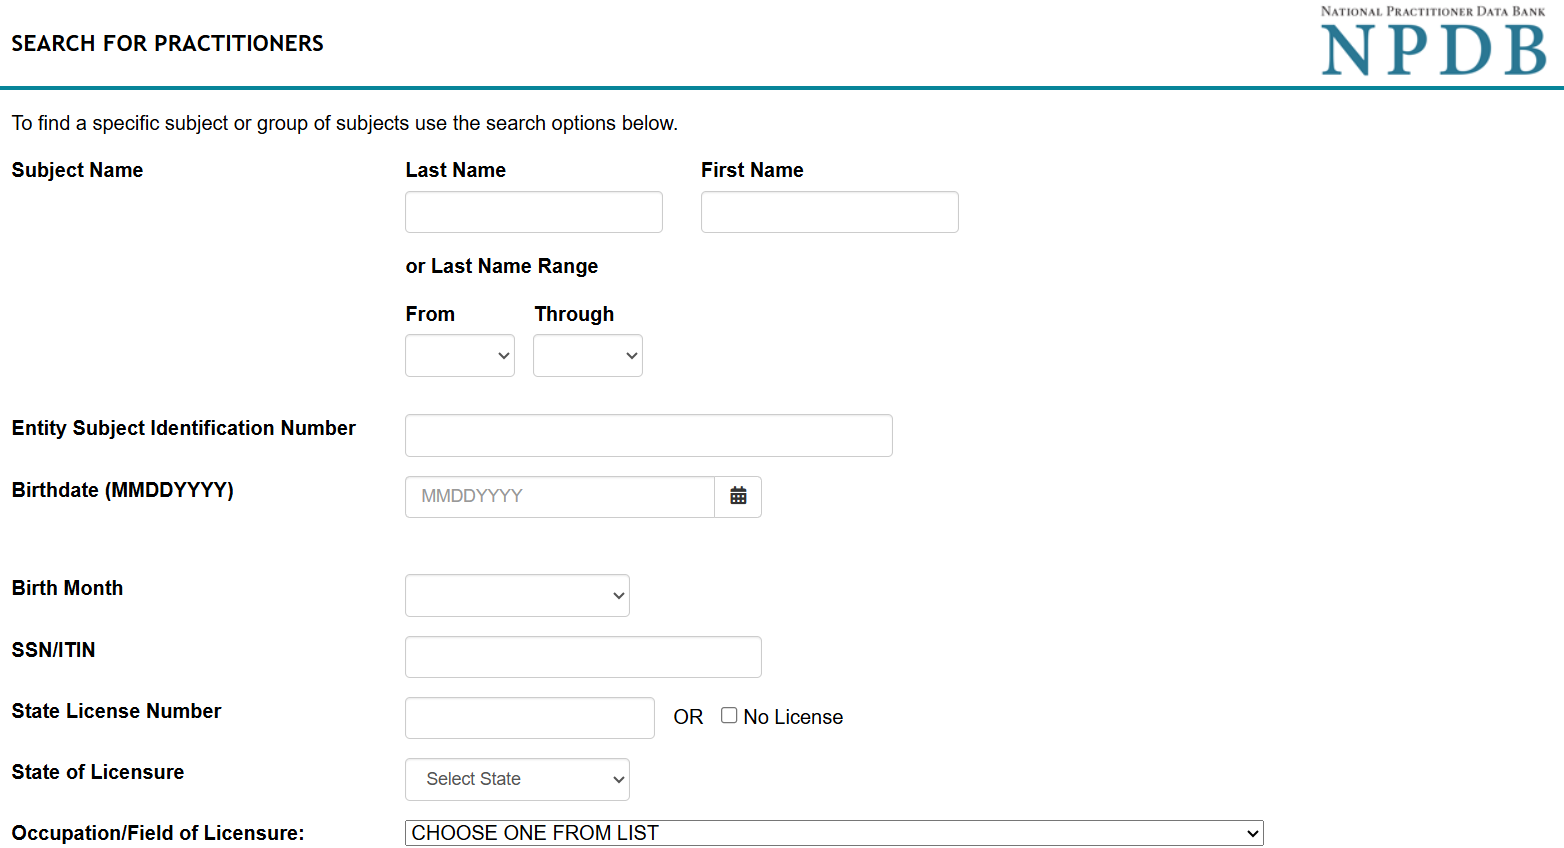
- If displayed, use the search filters on the Search for Practitioners page and select Search.
Search for Practitioners
- On the Cancel Enrollments page, check the box next to each practitioner's name for enrollments you wish to cancel, then choose Select Subjects.
Cancel Enrollments

- The list of selected practitioner names is displayed in the second box. Select Continue.
- Complete the Submitter Certification page. Select Submit to complete the enrollment cancellation.
Method 2: Import File to Cancel Enrollments
Use this option to cancel multiple enrollments by uploading a file containing enrollment ID numbers. Download the Practitioner Enrollment Data XLS file to obtain the list of enrollment ID numbers.
- Sign into the NPDB.
- On the Select an Option page, select Query.
Note: If you are canceling enrollments as an authorized agent organization, select the entity on whose behalf you are canceling the enrollments.Select an Option
- On the Query Options page, under Query Management, select Import File to Cancel Enrollments.
Query Options
- Prepare a text file that meets the following requirements:
- The file must contain only text.
- Each line must contain either the Entity Subject ID or Data Bank Subject ID for a single enrollment.
- Enter only one ID number per line.
- The file may contain a maximum of 1,000 enrollment ID numbers.
- Select Choose File, then browse to and select your file.
- Select Continue.
